Creating a DOS Gaming PC - Part 1
Introduction
Part of my interest and love of DOS is building the hardware that is "period correct", without emulation, and having it work just as it would have done in its prime. This section of DOSDays takes you through my journey of putting together a very flexible PC that will allow you to run applications and play games from around the late 386 era up to late 90s.
I want to give a huge thanks to those contributors on Vogons.org and specifically to Phil at PhilsComputerLab who has put in enormous effort into writing batch files, collating useful tools, and creating informative and entertaining videos to help us recall how to do certain things. This project of mine would have taken a lot longer without them. My final build is modelled on Phil's somewhat cheeky "136-in-1" retro PC, where the system's speed can be throttled back using a single DOS utility and some BIOS settings. For convenience, I plan to take things a step further with configured batch files that setup the system speed and sound (Sound Blaster, MT-32 or General MIDI options) for me so I can just boot up and play a game instantly.
There are many useful resources online on how to set up a DOS or Windows 9x retro gaming rig, and this one may be no different, though everyone has their own likes and dislikes. It's a tall order to expect a single PC to be able to straddle over a decade of technological innovations and do it well, but let's see how I fare....
By the way, I'm calling this my DOS Gaming PC, though I will have it set up to run Windows 98 also, as there are several games I love from the mid-late 90s that I want on here too, though the primary focus is on DOS gaming.
My Hardware List
If you've read other topics here at DOSDays, you will be aware I have a fair collection of PC components - motherboards, graphics cards, sound cards, memory, hard disks, keyboards and mice. There are several gaps in the timeline, but on occasion I've been known to pick a year and try to build a PC that would have been available then. Where possible I do like to choose components that are right for the time but this isn't always the case. Anyway, here's my hardware list for this DOS / Win9x Gaming PC:
| Component | I Chose | Why? |
|---|---|---|
| Motherboard | Gigabyte GA-5AX Super Socket 7 rev4.1 | Widely acknowledged as one of the best-performing and stable SS7 motherboards money can buy. |
| CPU | Pentium MMX 200 MHz | A fast but flexible processor that handles being slowed down very well. |
| Memory | 64 MB PC100 DIMM | This amount of RAM is mid-range for a 1997 PC. Some early games might get confused though, thinking I don't have enough! |
| Storage | Western Digital 80JBB PATA/66 hard disk. | Going old-skool with a mechanical hard disk. |
| Graphics Card | STB Velocity 128 (nVidia RIVA 128 chipset) | A good all-rounder with decent drivers for Windows 9x and performs well. |
| Sound Card | Mediatrix AudioTrix Pro | My best [and quietest] ISA sound card |
| Case & PSU | Antec VSK-4000B Mid-Tower ATX case, generic 450W PSU | Nothing special here and that's just fine. No LED strips or spinny lights everywhere 8-) |
| Other | Roland MT-32 "old", Roland SC-55/SC-88, CF card interface, and USB interface. |
The Build
It's Thursday and I've just taken 7 days off work. I have some household projects that will take up most of this time, but I have dedicated 2 days to getting this DOS Gaming PC all setup and ready to go. The case arrived yesterday, so first things first I'm unpacking that and getting the above bits installed. Please forgive the poor lighting and crudity of some of the pics - my home office doubles as the den where I'm doing this build.

The Antec PSK-4000B, bought from an Ebay seller brand new for £32.49 delivered
A simple front panel with power button, reset, two USB ports, and front audio.
The rear shows a typical ATX layout - power supply, ATX I/O shield, rear fan, 7 expansion slots.
Having taken the side off the case, I installed the ATX power supply that's been part of my collection for a number of years - a 455W one made by CWT. It's nothing special, but does the trick.
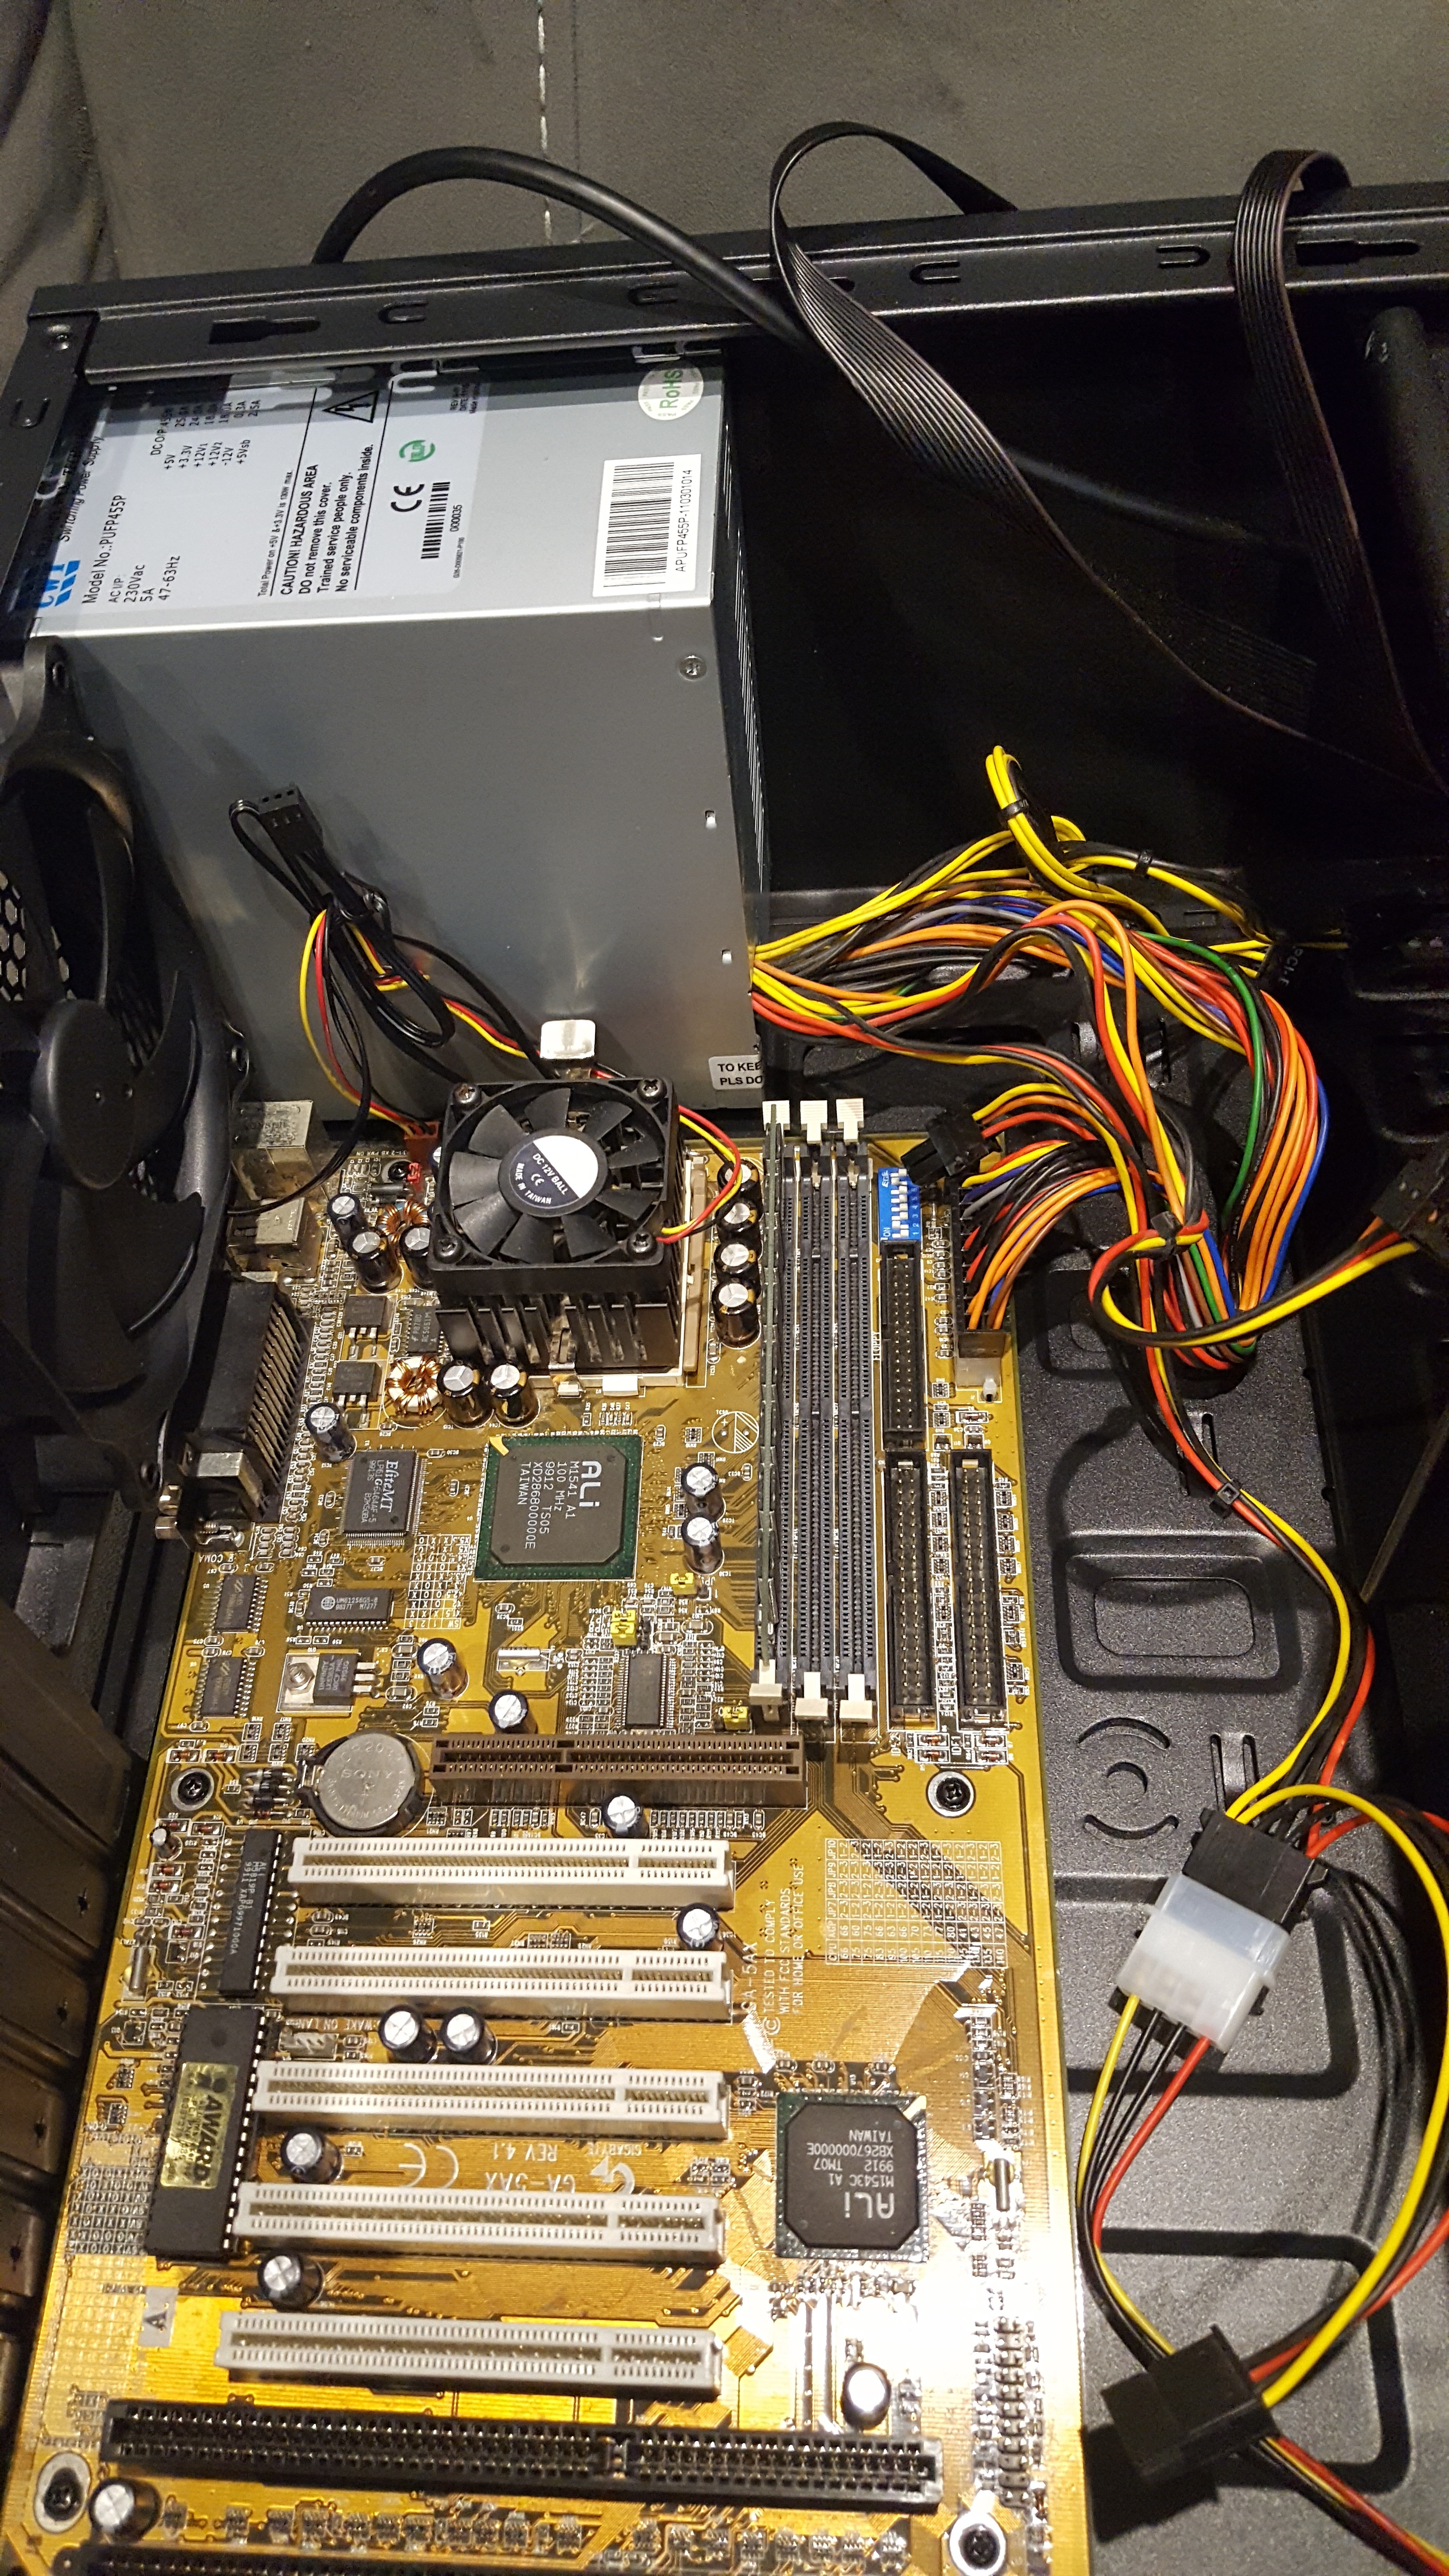
Next up was installing the Gigabyte motherboard. This was a great find - prices for some Super Socket 7 motherboards have skyrocketed in recent years as retro gaming has increased in popularity. Typical recent sold prices for the GA-5AX have been £250 and up! Similar prices also for the equally solid and well-regarded ASUS P5A board, so when this came up at a more reasonable auction price I had to bid for it. In the end I won it for £123 including P&P (shipping) - by far the most expensive item of this build (I usually won't buy any vintage mobo for more than £30), but I want this system to be stable and above all, flexible.
The case came with 6 metal standoffs in the right place for this ATX board, though it also came with a bag of spares including plastic standoffs should I need them.
The motherboard doesn't have any fan headers for the two case fans so both front and rear fans will be idle for now - I may try to wire them up to a spare Molex connector from the power supply. The first compromise I'm having to make is that I don't have the I/O shield for the GA5-AX - it will spoil the aesthetic not to mention will probably cause lots of dust to enter the case over time, though it will help with general ventilation!
Now to get the drives fitted. This Antec case has 3 external 5.25" drive bays, a single external 3.5" drive bay and about 5 internal 3.5" drive bays. I plan to use two of the external 5.25" ones and the 3.5" external bay. The two 5.25" ones will house the hard disk and a CD or DVD drive, and the 3.5" bay will have a Gotek floppy emulator.
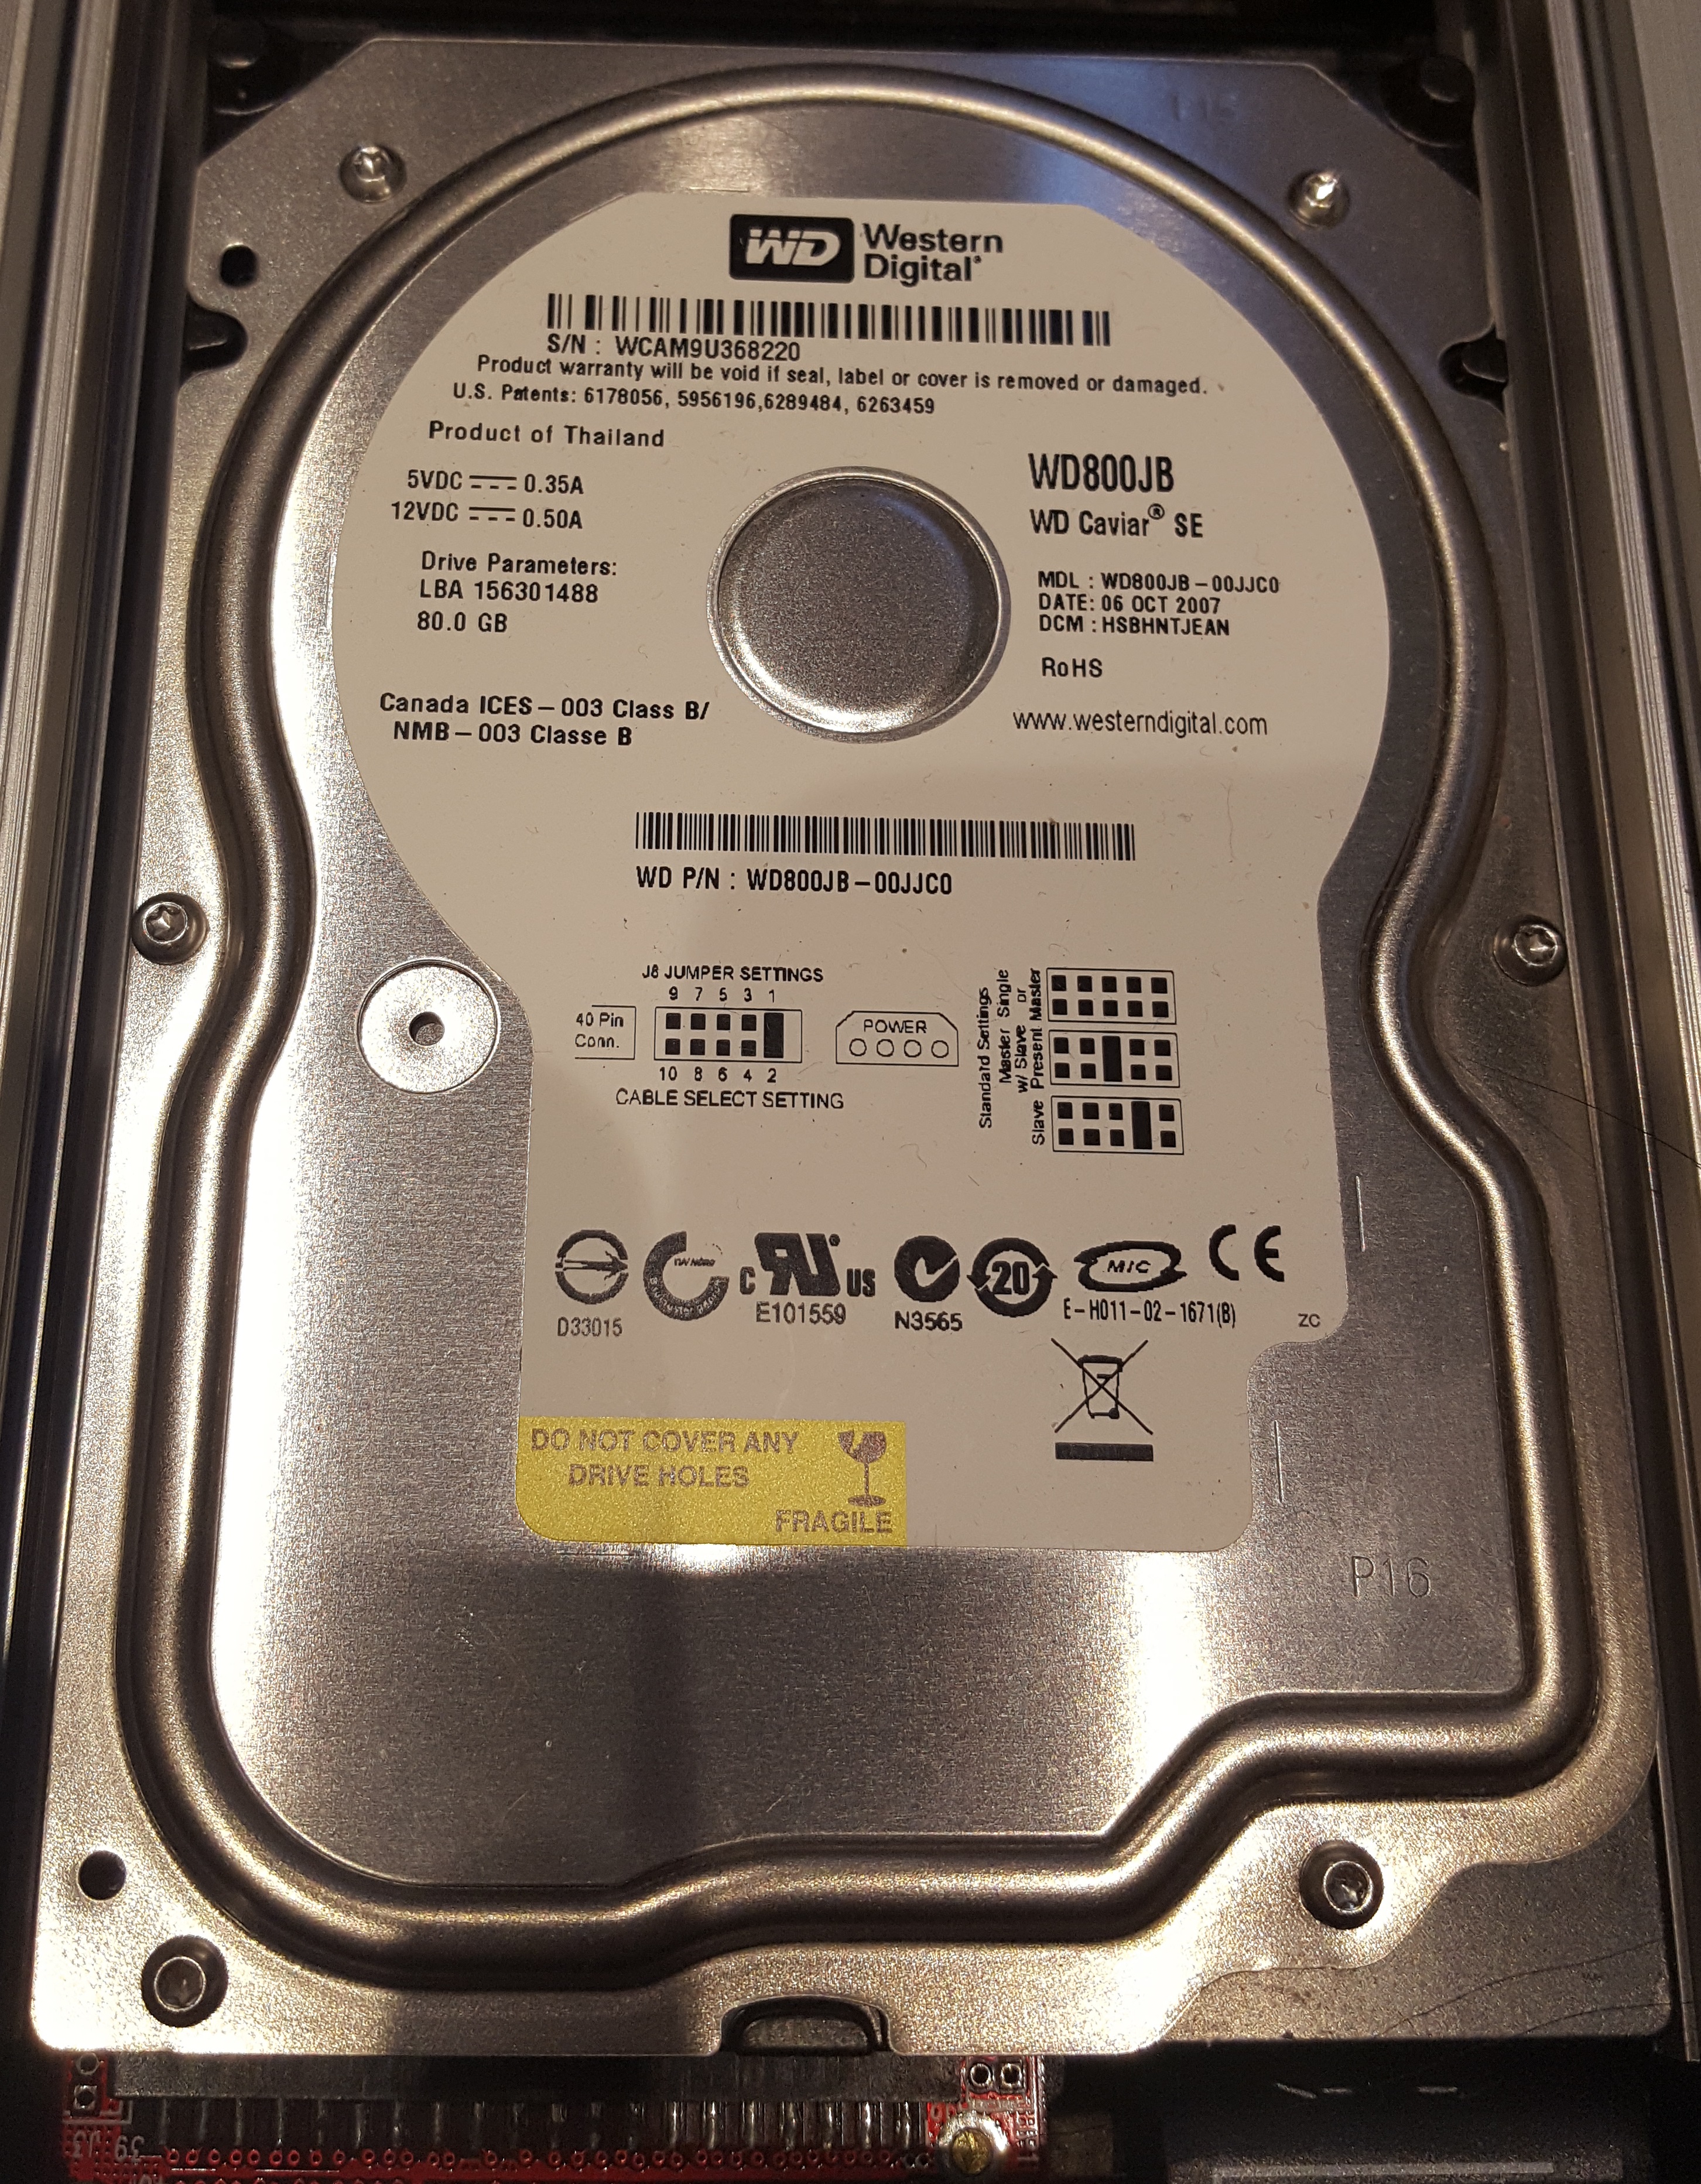
The smallest brand new hard disk I have in my collection, a 3.5" 80 GB IDE from Western Digital. Only about 1/10th of this will be used !
You may be wondering why I've not used solid-state such as SD or CompactFlash as the primary storage medium for this retro PC. Personally I've had numerous issues using CF cards with CF-to-IDE adapters, with data loss usually the end result. Furthermore, if you're going to run Windows with those you must disable the Swap file if you want the card to last more than a few weeks. About 5 years ago I purchased a bunch of NOS (new old stock) hard disks with the lowest capacity I could find - they were something like £5 each. This project was a good opportunity to make use of one of them. I also quite like hearing the whirring of a mechanical hard disk in an old computer - it adds to the nostagic ambience :-)
The picture on the right above shows it installed in a removable IDE hard drive caddy that I also purchased off Ebay. These are getting quite hard to come by these days, it was brand new in its box and only cost £10. Phil (PhilsComputerLab) used one of these when he built his 3-in-1 DOS Gaming PC. He fitted a CF-to-IDE adapter inside his, so it makes more sense for him than for me, though if this NOS hard disk fails prematurely I will probably revert to doing the same as him. If nothing else, the caddy displays the drive's power and HDD activity LEDs, which makes the front of the case a bit less boring! The caddy is interesting, as the key actually controls power to the drive as you lock/unlock it - it's not just there to physically prevent the caddy from opening - this fooled me when I first tested it out, as the hard disk was dead! I turned the key to lock it in the caddy and like magic it sprung into life!
Gotek floppy emulator in place
The front fascia of the Antec case simply pops off, giving access to the front of the drive bays. After removing the plastic blanks for the drive bays I want to use I then twist the metal bay covers until they snap out and put the Gotek in position first.
The Gotek is a floppy drive hardware emulator which means you can store floppy disk images on a USB stick, put the USB stick into the front of the Gotek and instantly have access to all the data held on those disk images. A very neat bit of kit to save you having to wrangle with 30-40-year old magnetic media!
I have a few of these, but none of them are in black (shame) - for this beige one I did every update to it you can - the firmware upgraded to FlashFloppy v3.15, replaced the basic 7-segment LCD display with an OLED display, installed a piezo beeper for mechanical floppy noises and finally added the rotary knob. All of these upgrades were done about a year ago following an excellent guide online - if I find it I'll add a link here. I still have another of the OLED displays ready to install in my Amiga 1200 Gotek - they make such a difference over the stock display!
Hard disk (in caddy) also installed
Now onto the last installation at the front - an optical drive. From around 1993, games started to come on CD-ROM instead of tons of floppy disks, so it's worthwhile having a drive in this PC. I have a lovely NEC DVD-RW drive in black that I'll use:
NEC ND-3520A DVD Writer installed
My advice with optical drives in these retro PCs is to go as old as you can! Newer drives are much faster than the rest of the computer will ever be able to use, and the faster the spindle speed the more noise they make. When using 20-year old CDs and DVDs that are possibly a bit warped through use and temperature fluctuations, they can create a very loud whirr. A 2x or 4x CD-ROM is perfect for a DOS gaming box. I do have a few drives that are this slow but they are all grey or beige, so I'm going against my own rule of being period-correct with this NEC that's from 2005. My plan to correct this is to slow down its maximum speed via software when I get to that later on.
Inside, I had one more 'drive' to fit:
This CompactFlash to IDE interface will be installed in one of the spare PCI expansion slots and accessible from the rear of the PC. With a correctly formatted CF card, I can easily boot from this instead of the main hard disk, so it's the best of both worlds having one of these in there.
The cabling is next, as it's a mess of power and ribbon cables right now. One challenge I knew I would face is the power supply wiring loom only has two Molex plug ends and no 3.5" drive-type ones which is two less than I need. So while I was ordering the case I also ordered two of these:

Molex power splitter cable (1 male to 2 female)
Another set of wires I needed and had in my wiring box was two male Molex-to-3.5" floppy drive power leads, so now I have four power connectors from the power supply [with wiring adapters), going to:
- 3.5" hard disk (Molex)
- Optical drive (Molex)
- Gotek floppy drive (3.5" power)
- CF-card interface (3.5" power)
The two expansion cards to be installed are for graphics and sound. On the video side, I'm going with a Riva 128-based graphics card - an 8 MB STB Velocity 128. It's an AGP 2x card, so will make use of the AGP v1.0-compliant slot on the Gigabyte GA5-AX motherboard. Ironically, the aim of the game here is not to find the highest performer; rather to find a card that has:
1) Excellent DOS / VESA compatibility
2) Isn't a slouch when playing early 3D games of the mid-90s
3) Has solid Windows 9x drivers.
I will see in a later part if this card is the right choice or not - I have 7 other AGP 1x or 2x cards that could be used instead, plus a 3dfx Voodoo 1, so there's plenty of options here.

STB Velocity 128 that came from a Dell computer
Onto the audio side of things, and there really was only one choice, and it was made because a chunk of my DOS gaming affection is now with Roland MT-32 music. For later games I also want to be able to pick General MIDI sound. This means I will be using the Mediatrix AudioTrix Pro sound card. I rave about this card a lot on DOSDays (sorry!), but it just does everything really well!

Mediatrix AudioTrix Pro sound card
It provides Ad Lib, Sound Blaster, Windows Sound System, General MIDI and MPU-401 all in
hardware, using a combination of the Crystal CS4231 codec and Yamaha OPL4 synthesizer which has 128 orchestral-quality GM instruments and 47 percussive sounds. For Roland MT-32 compatibility its MPU-401 interface handles Normal mode in addition to UART mode - something only a couple of sound cards produced can do! Oh, and its signal-to-noise ratio is excellent (>90dB), far superior to anything from Creative Labs bar the AWE64 Gold.
**UPDATE MID-2022: I have now purchased the Orpheus 1 card, which is a fantastic DOS gaming all-rounder, along with the DreamBlaster X2GS GM daughterboard. I may swap out the AudioTrix Pro for this.**
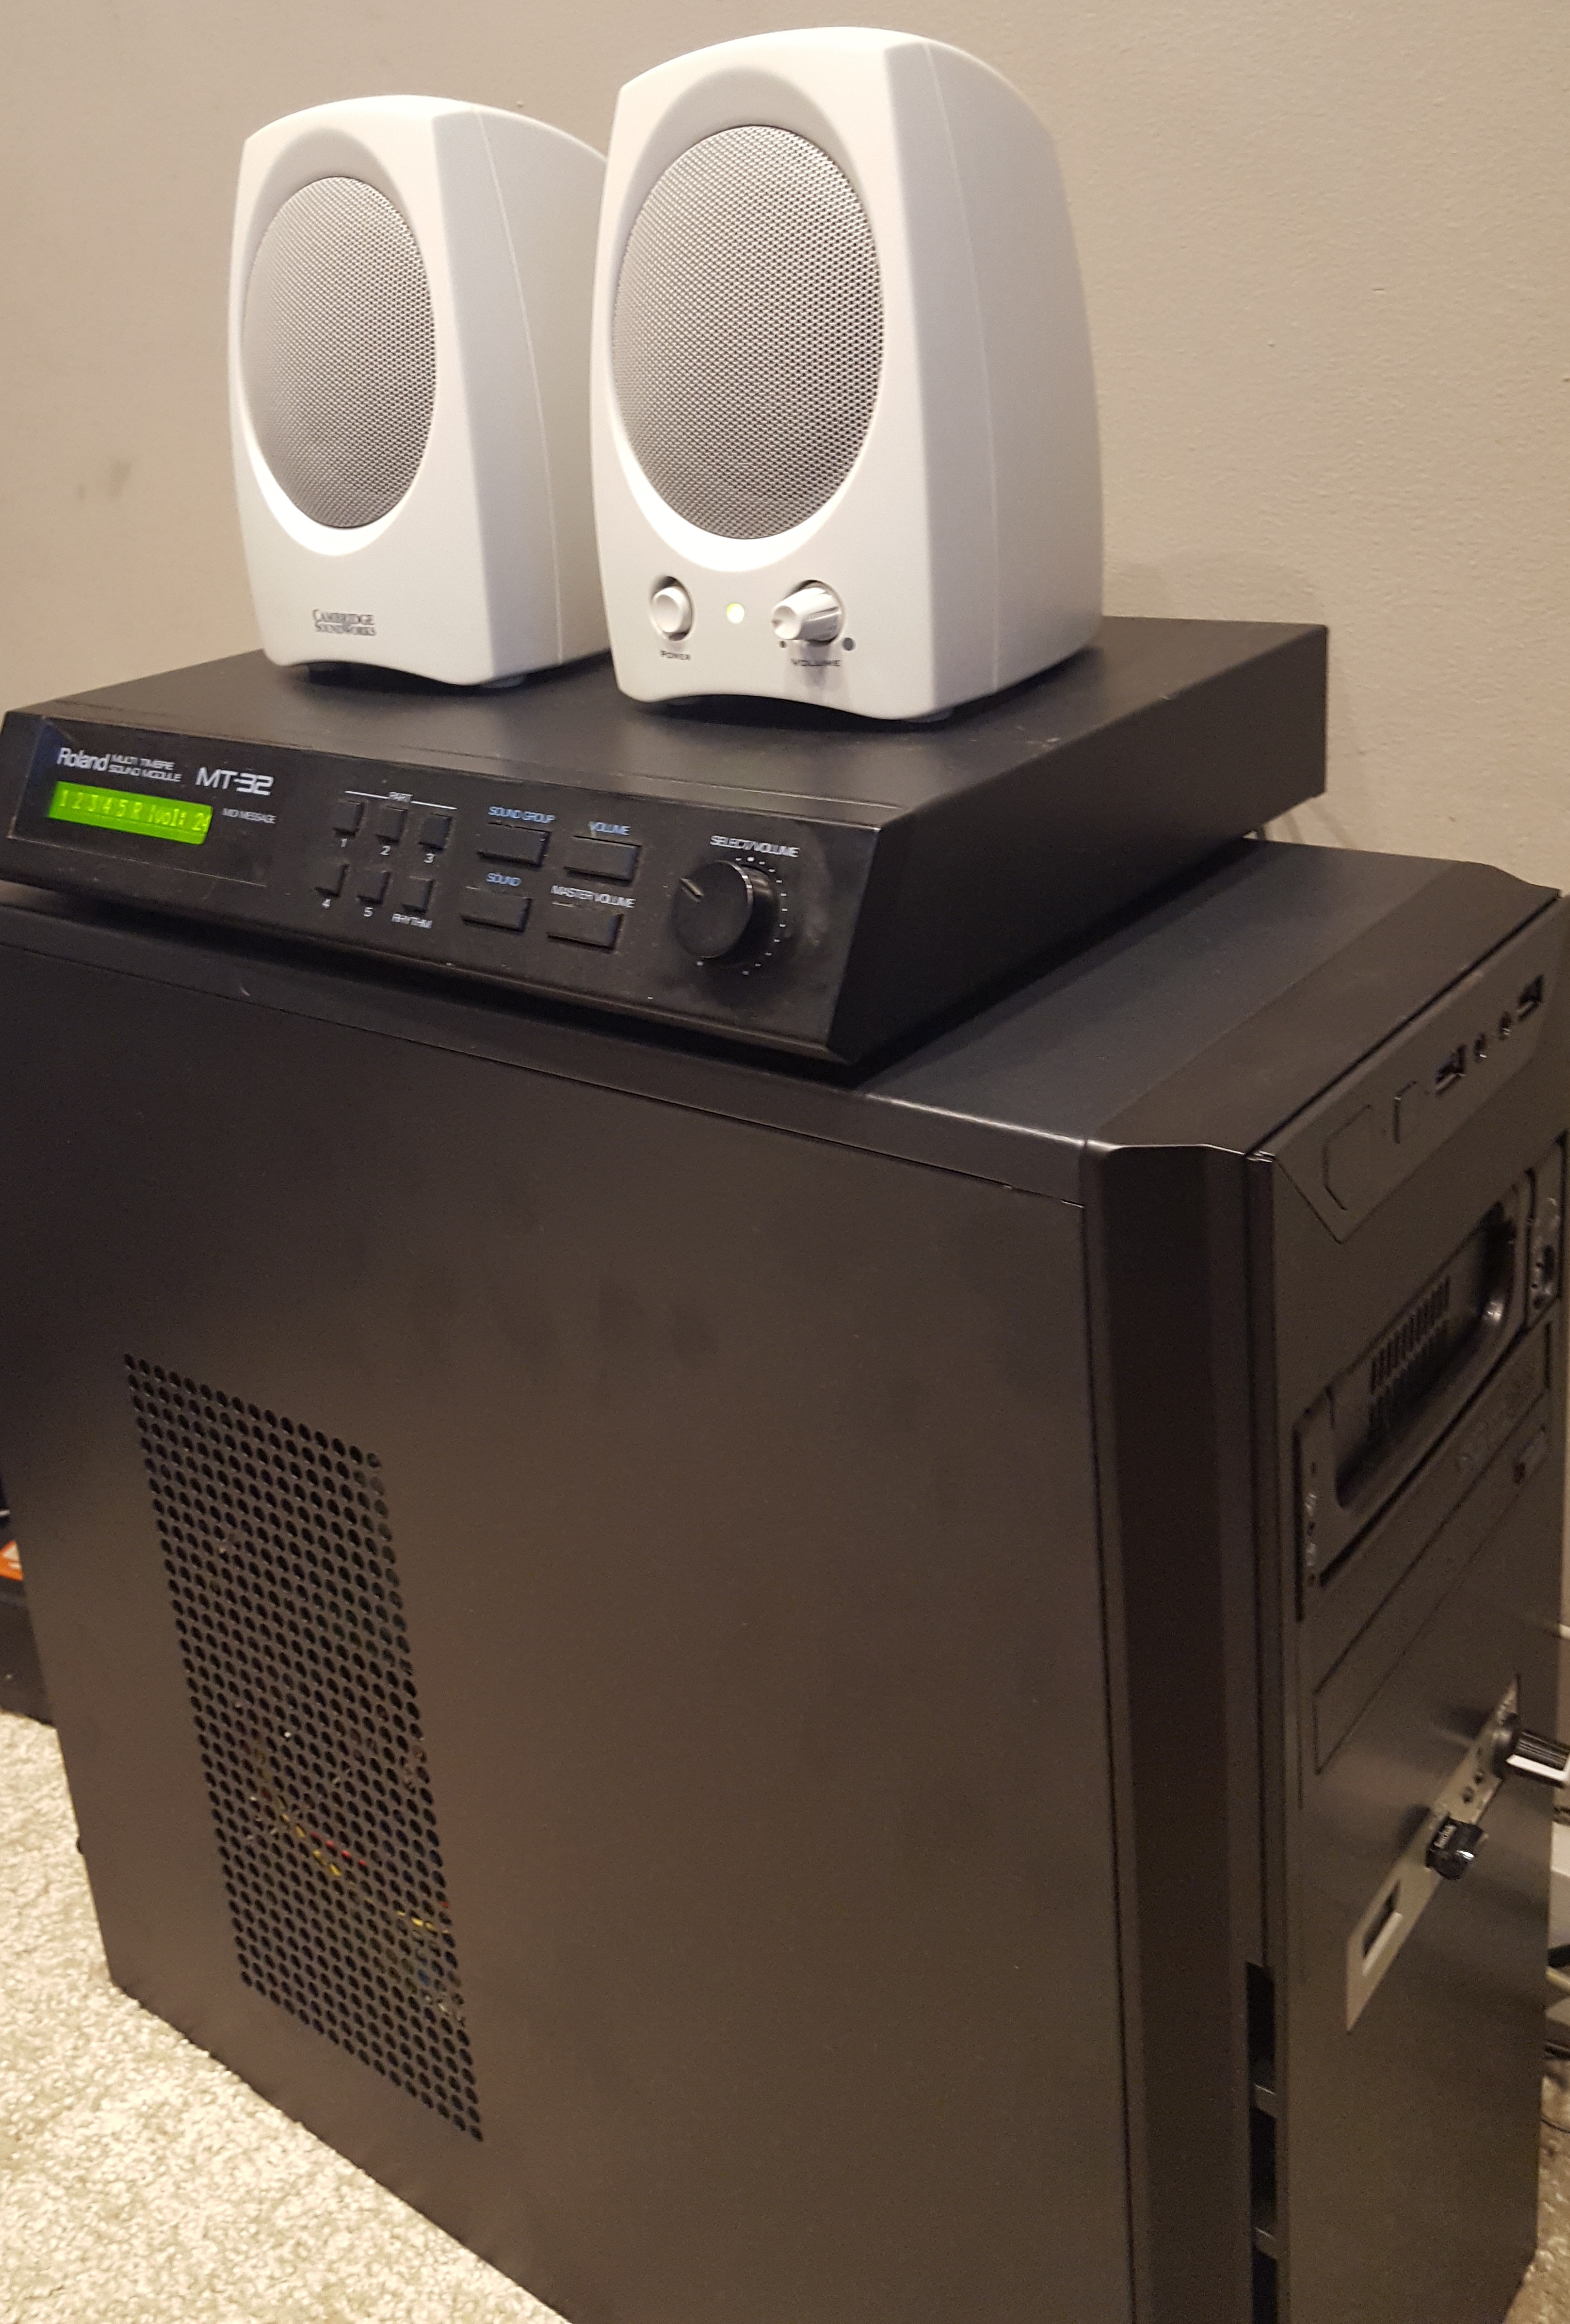
Completing the hardware side of the build I just need to connect up the Roland MT-32 and some speakers and we're ready for Part 2!

Hardware build complete, though these white Cambridge Soundworks speakers will be replaced with some Creative I-Trigue 2200s in black
In order to be able to keep cabling to a minimum, I have wired the MT-32 up as follows:
1) Sound Card Game/MIDI Port -> MT-32 IN (Game port MIDI cable)
2) MT-32 Out -> Sound Card Line In (Stereo 1.4" jacks to 3.5mm jack plug)
3) Sound Card Line Out -> Speakers (3.5mm jack plug from speakers to sound card)
Since I have completed the hardware side of things, I thought I'd let you know what the cost of this retro PC would be if you bought all the parts today. Many of what I used comes from bits I've purchased over the years, so I've included what I paid for those too.
| Component | I Chose | What I Paid and When |
|---|---|---|
| Motherboard | Gigabyte GA-5AX Super Socket 7 rev4.1 | £123.00 (in 2020) |
| CPU | Pentium MMX 200 MHz | £7.82 (in 2020) |
| Memory | 64 MB PC100 DIMM | £4 (in 2015) |
| Storage | Western Digital 80JBB PATA/66 hard disk. | £5 (new in sealed bag in 2015) |
| Graphics | STB Velocity 128 (nVidia RIVA 128 chipset) | £9.60 (in 2016) |
| Audio | Mediatrix AudioTrix Pro and Roland MT-32 | $122 USD (new in box £99.39 in 2019) + $100 USD for the MT-32 |
| Case & PSU | Antec VSK-4000B Mid-Tower ATX case, generic 450W PSU | £32.49 (new in box in 2020) + £5 for PSU (it came in another case that I got for about £10) |
| Other | Roland MT-32 "old". CF card interface. |
£102.15 (in 2018) £6 (in 2019) |
So not including a display, keyboard and mouse, the total comes to £394.45. If you're not bothered about having Roland sound or a "Super" Socket 7 motherboard, you can get something similar for a little over £100 (get a cheap Socket 7 mobo that supports a Pentium MMX for £25-ish, a cheap Sound Blaster clone like an Aztech Sound Galaxy for about the same, and it brings the cost down to £113).
In Part 2 I will begin with BIOS configuration and move through installing DOS and Windows and getting some games up and running.


